
We used to buy all my reptiles’ greens and veggies, but in 2020, when the lockdowns took place, it became impossible to find all the stuff they needed. Stores were constantly running out, so we had to plant our own food. I’m so glad we did because I saw a huge difference in the reptiles’ health and appetite.
The difference between buying food and growing it organically for your Reptiles:
Fewer visits to the vet. In the past, the animals often had digestive problems, parasites, and liver and kidney problems. Since they’ve been on a 100% organic diet, these problems have mostly disappeared.
More prone to eating their greens and veggies. Before, my picky eaters would often refuse to eat their greens and veggies. Now, they gobble them up!
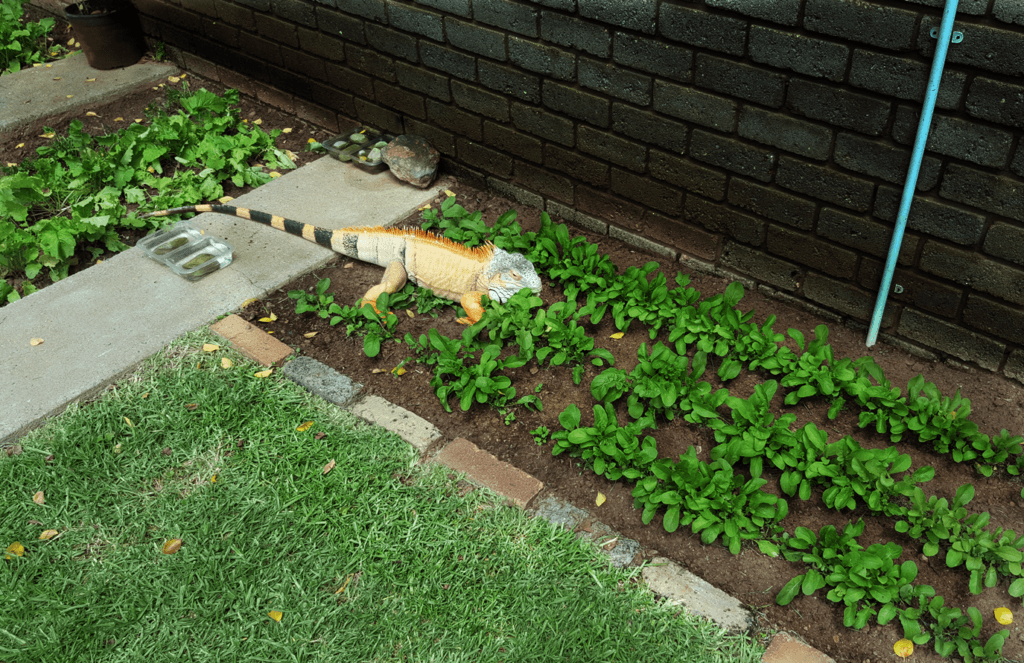
Refusal to eat anything but organic. Our Iguanas now refuse to eat food that is purchased in the store. This is a clear indicator that the pesticides used on these foods have an influence on their diet.
Healthy poop. We used to struggle with diarrhea or constipation sometimes, especially after feeding mustard greens and squash. Since planting and feeding our own, poop problems have vanished.
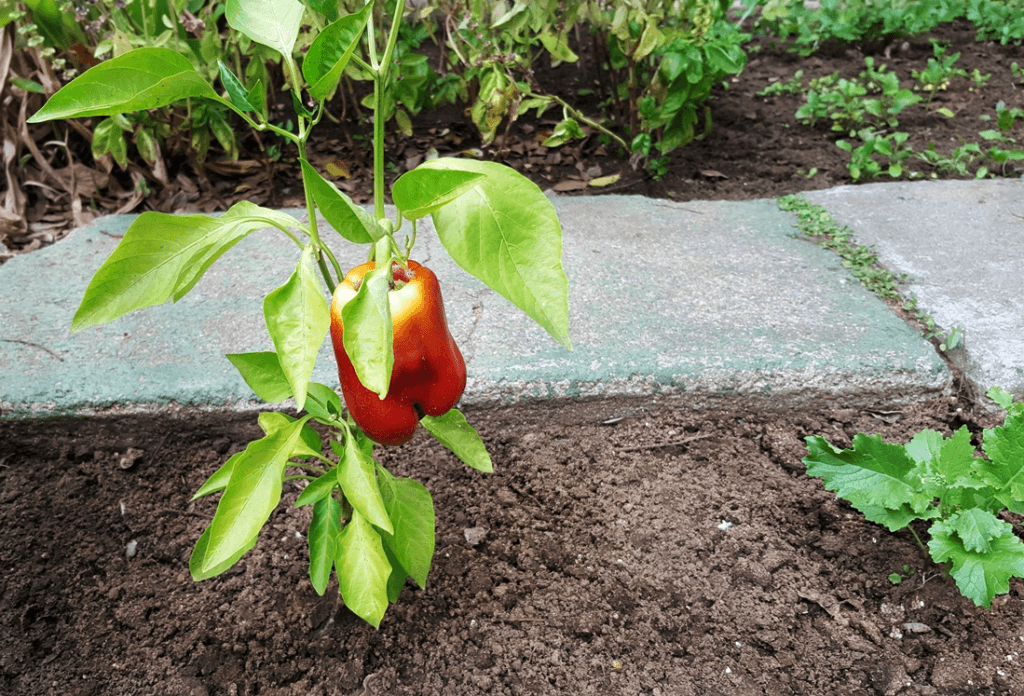
Overall better quality. The greens we grow taste better than the ones I used to buy in the store. They’re not as bitter, and they have a sweeter, more peppery taste. The butternut and squashes also taste better, and the beans and sugar/snap peas actually taste sweet!
Benefits of growing your own food 100% organic.
- You don’t use pesticides or chemicals, so your reptile is getting the best diet possible.
- You save money. In the long run, it’s much cheaper to grow your own food than to buy it in the store.
- More variety. You can plant a wider variety of greens and veggies than you would be able to find in stores.
- Fresh food on demand. You can harvest what you need for the day, so there’s no need to worry about food going stale.
- Surplus food can be used for the household. If you grow more food than you need for your reptiles, you can use the surplus for yourself or your family.
Tips for Growing Food
- Make your own compost. You can use ground eggshells, veggie peels, fruit, and greens to make your own compost. This will help to provide your plants with the nutrients they need.
- Use fertile, well-drained soil.
- Most greens, herbs, and veggies prefer fertile, well-drained soil.
- Pinch out flower buds. This will prevent your greens and herbs from running to seed.
- Keep the plants moist. Greens and herbs need to be kept moist, especially in hot weather. If you live in a dry climate, you may need to install a drip system to keep the soil moist.
- Thin the seedlings. If you leave the seedlings too close together, they will crowd each other out.
- Avoid compacting the soil. Compacted soil will prevent the roots from getting the oxygen they need.
- Plant herbs in between your greens and veggies. Herbs like basil, parsley, and coriander can help to deter pests.
- Do not use pesticides. The goal is to grow your food as organically as possible.
- Plant mustard greens separately. Mustard greens can attract plant lice, so it’s best to plant them separately from your other greens and veggies.
- Harvest mustard greens while they’re young. Mustard greens taste better when they’re young, and they’re less likely to attract plant lice.
Planting and Growing Guidelines
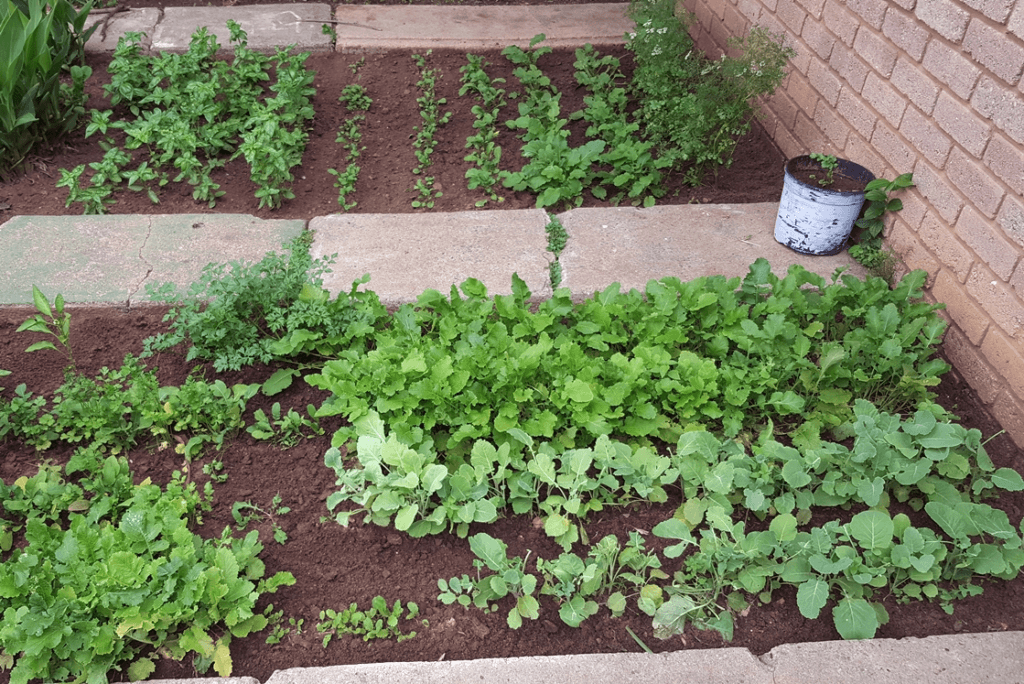
Below I will add a few guidelines for the plants that I grow mostly and became a pro gardener at. These are mostly staples as I do not prefer to grow stuff that is not used on a daily basis. These are also the ones that do best in the region and climate I live in. I recommend that you do a bit of research prior to planting to see what grows best in your area and how the specific plant should be grown.
Rocket (Arugula)
Soil – Fertile, high in foliage, and holds moisture well.
Position – Sun or partial shade. A cool, shady position in the hot summer months. Summer > Shady area. Winter > Sunny area.
Growing companions – Thyme, basil, turnip, lettuce, and snap/sugar peas.
Spacing from other plants – 15cm
Directions – Sow directly into the soil from early spring. Can also be sown in early autumn for a winter crop. Put under a cover if winter is harsh with frost.
Sowing and Growing
- Keep plants moist, especially in dry, hot weather. Provide some shade during particularly sunny, hot days.
- With some protection (in a cool greenhouse or under a cloche or garden fleece), a late sowing will provide you with leaves over winter.
- To prevent the plants from running to seed, pinch out any flower buds and keep the plants moist.
Harvesting Rocket
Harvest as a cut-and-come-again crop, by nipping off what you require as soon as the leaves are large enough and leaving the plants to grow on and produce pickings for weeks.
The young, fresh, leaves have a milder flavor.
Pests and Problems
Be sure to thin the seedlings. If left to grow too close together they tend to run to seed.
Keep well watered, particularly in hot, dry weather, or the plants will taste very bitter and bolt.
Flea beetles tend to cause the most damage to plants, nibbling holes in the leaves, making them look unsightly.
In warm-temperate and subtropical climates it is better as an autumn or winter crop.
Turnip
Soil – Fertile, high in foliage, and holds moisture well.
Position – Sun or partial shade. A cool, shady position in the hot summer months. Summer > Shady area. Winter > Sunny area.
Growing companions – Thyme, basil, rocket (arugula), lettuce, and snap/sugar peas.
Spacing from other plants – 15cm
Directions – Sow directly into the soil from early spring. Can also be sown in early autumn for a winter crop. Put under a cover if winter is harsh with frost.
Sowing and Growing
- Prefers well-drained, fertile soil that is high in organic matter.
- Needs plentiful and consistent moisture.
- Loosen soil deeply or grow in raised beds to encourage good root development.
- Frost areas: sow under cover in late winter
- Fast-growing spring turnip crops are best harvested while the weather is still cool.
- Like sandy to loam soil that drains well and contains a lot of organic material. Do not do well in heavy compact soil.
Mustard Greens
Soil – Fertile, high in foliage, and holds moisture well.
Position – Sun or partial shade. A cool, shady position in the hot summer months.
Growing companions – Not recommended to plant too close to other plants. They do better on their own.
Spacing from other plants – 15cm
Directions – Sow directly into the soil from early spring. Can also be sown in early autumn for a winter crop. Put under a cover if winter is harsh with frost.
Sowing and Growing
- Mustards will benefit from some shading during warm weather.
- They prefer well-drained, fertile soil high in organic matter.
- Needs plentiful, consistent moisture.
- Can be grown most of the year-round, except during the very coldest periods of mid-winter and the very hottest periods of mid-summer.
- Watch out for pests and diseases.
- In areas with hot summers, avoid sowing in the hot mid-summer months
- Harvest mustard while it is still a young plant.
Snap peas/Sugar peas
Soil – Fertile, high in foliage, and holds moisture well.
Position – Sun or partial shade. A cool, shady position in the hot summer months.
Growing companions – Rocket (Argula), Turnip, and parsley
Spacing from other plants – 20cm
Directions – Sow directly into the soil from early spring. Can also be sown in early autumn for a winter crop. Put under a cover if winter is harsh with frost.
Planting and Growing
- Sow seeds directly; do not do well when germinated first.
- Peas planted in cold soil are slow to germinate.
- Use raised beds if the soil is slow to drain.
- Shallow planting is best when the soil is cool and wet, plant deeper if the soil is dry.
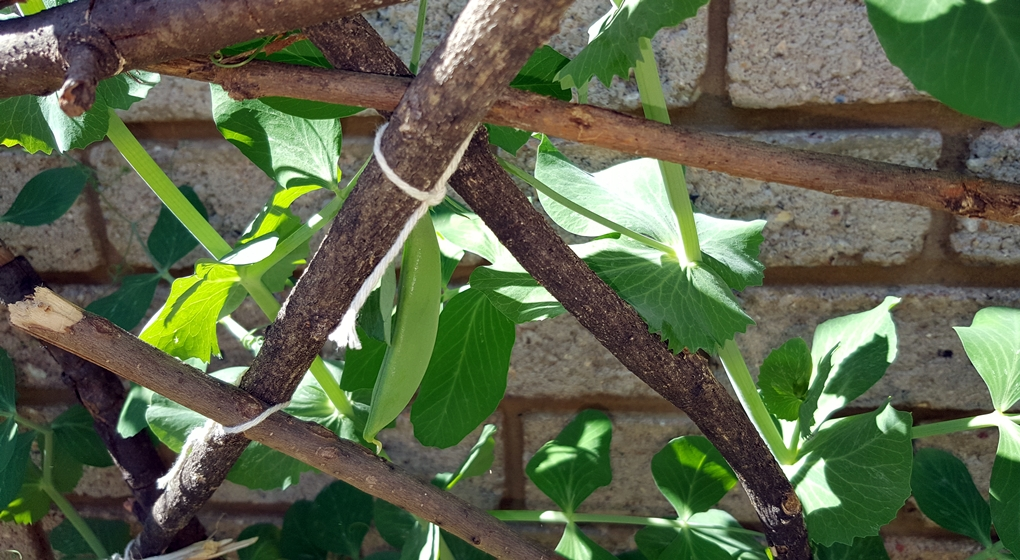
- Erect a trellis for tall growth by using chicken wire, brush, or suitable trellis material.
- Keep soil moist, but avoid heavy watering during flowering, which can interfere with pollination.
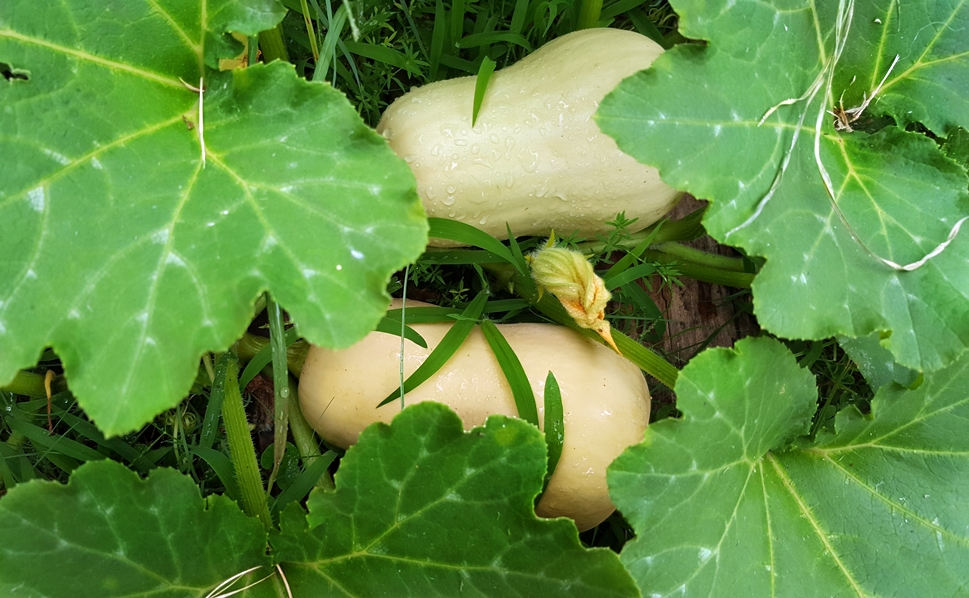
Butternut, Zucchini, and Patty Pan (Winter Squash and Summer Squash)
Soil – Fertile, high in foliage, and holds moisture well. They adore soil that is rich in compost and will do beyond great if planted on a compost heap.
Position – Sun or partial shade. A cool, shady position in the hot summer months.
Growing companions – Not recommended to plant them with anything else.
Spacing from other plants – Leave plenty of room as a squash plant can go quite the way if looked after well.
Directions – Sow directly into the soil from early spring. They do not grow well or grow at all during the winter months.
Planting and Growing
- Winter squashes differ from summer squashes, not by the season that they are grown in but rather by the stage that they are harvested and by the type of skin that they have. Both are grown during the warm summer season. Winter squash are left on the plant to mature and develop their thick, hard skins (Butternut). Summer squash, on the other hand, is harvested when they are still immature and when their skin is still soft and tender (patty pans and zucchini).
- Squashes like warm soil and are very sensitive to frost so do not be in a rush to plant too early in spring.
- Squash plants have both male and female flowers. The male flowers often blossom first, sometimes as many as two to three weeks before any female flowers start to appear. You will recognize the female flowers once they finally blossom as they form on the ends of the immature fruits and, once pollinated, then fall off as the fruit develops. First fruits can sometimes be wrinkled, turn black, or rot due to poor pollination.
Pests and Problems
Mounding soil around the base of the plants can discourage squash borers from laying eggs. Scan for pests every time you go out into the garden.
Mildew can also be a problem for plants. A copper soap spray or a homemade solution of 1 part milk to 10 parts water will help to keep mildew at bay.
When the stems turn a light green-yellow color the squash should be fully ripe. Cut, do not pull, the ripe fruit from the plant. 5 to 8cm of the stem must remain for proper storage. This may also help increase the sugar content.
Raise the squash off the ground by putting a piece of wood or similar under it to prevent rotting—water roots generously in dry weather.
Not sure what to feed your Iguana or Bearded Dragon? You can find the list here:
Iguana Diet and Nutritional Needs
Bearded Dragon Diet – Complete Food List
I hope this blog post has inspired you to start growing your own food for your reptiles! It’s a great way to save money, provide your pets with a healthier diet, and get some fresh air and exercise.
Do you grow your own food for your reptiles?
Please be so kind as to share your experience and tips so others can also benefit from your knowledge.
It would be much appreciated.
Thank You!